Exposure Compensation: Taking Control of Your Camera’s Brightness
Exposure compensation is a simple way to take control when your camera’s automatic exposure does not match what you see. This article explains when to use it, how it works across different cameras, and how it fits into techniques like HDR photography.

When you leave your camera in one of the automatic or semi-automatic modes, it works hard to give you what it thinks is the correct exposure. Most of the time, it does a decent job, but there are plenty of situations where the result is not what you want. Snow comes out looking grey, stage lights burn holes in your photo, or a sunset leaves your subject in complete darkness.
This is where exposure compensation comes in. It is one of the simplest, yet most powerful tools to override your camera’s decision and make the photo look the way you see it.
What exposure compensation actually does
Exposure compensation is controlled through a dedicated dial or a configurable control, depending on the camera model. It lets you tell the camera to make the photo brighter or darker than it would choose on its own. If you dial in a positive value (+1 EV, for example), the image becomes brighter. A negative value (-1 EV) makes it darker. Zero means you are leaving everything to the camera.
The adjustment is measured in stops, or EV (exposure value). Each full stop is a doubling or halving of the amount of light reaching the sensor. For example, +1 EV will double the exposure, while -1 EV will cut it in half.
When to use it
There are a few common situations where exposure compensation makes a clear difference.
On a bright, snowy day, the camera often thinks the snow is too bright and tries to darken it, leaving you with dull, grey snow. By adding +1 EV, you bring the snow back to a crisp white.
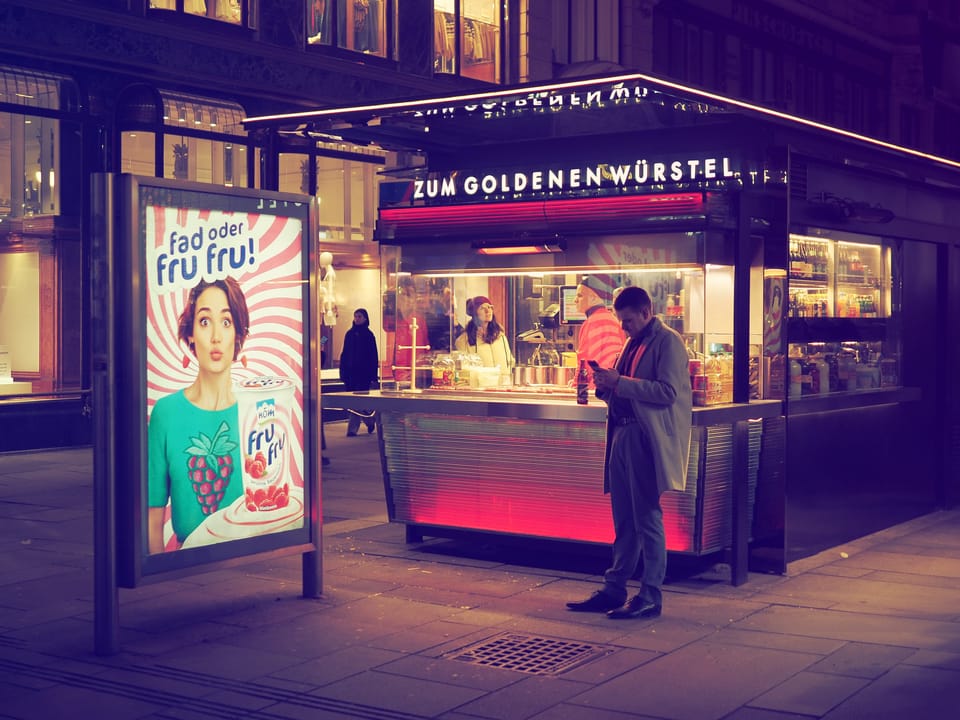
At concerts or night scenes, bright lights can trick the meter into overexposing. Dialing in -1 EV will help preserve the highlights and capture the atmosphere more faithfully.
Silhouettes are another example. At 0 EV, your subject may just appear as a dark outline against the sky. By adding some positive compensation, you reveal detail in the subject, even if it means losing some of the dramatic sky.
And in everyday situations with high contrast, like photographing a flower in the shade against a bright background, a small positive adjustment will often bring out the detail you actually care about.
How to set it
Most modern cameras make this easy, but the exact control varies by brand. Exposure compensation is usually adjusted using a dedicated dial or an assigned control, while the change itself is shown on-screen using a +/- scale. On mirrorless cameras and smartphones, it is often available as a slider in the live view interface.
It works in program, aperture priority, and shutter priority modes. The only place you won’t use it is in full manual mode, since there you control all the settings yourself.
Exposure Compensation - Quick Brand Guide
The controls shown below reflect the most common and expected way exposure compensation works on each camera brand, rather than the exact layout of every individual model.
| Brand | EV Adjustment | Watch |
|---|---|---|
| Olympus / OM System | Turn front or rear dial in P/A/S (assignable). | Live histogram, highlight warnings |
| Canon | Turn main dial in Av/Tv or use Q menu. | Exposure simulation |
| Nikon | Hold +/- and turn rear dial. | Highlight warnings |
| Sony | Use EV dial or assigned control wheel. | Zebra display |
| Fujifilm | Turn EV dial (or Q menu). | Live histogram |
| Panasonic / Lumix | Rear dial or Q menu. | Histogram, highlight warnings |
| Leica | Rear dial or menu (model dependent). | Conservative metering |
From Exposure Compensation to HDR
HDR (High Dynamic Range) is a technique that combines multiple exposures to preserve detail in both highlights and shadows within a single image.
Exposure compensation can also play a useful role when you plan to create an HDR image. By deliberately capturing a series of frames with different EV values, either manually or using exposure bracketing, you give the HDR merge more usable data in both highlights and shadows. For example, a slightly underexposed frame protects bright areas, while a positive EV capture preserves shadow detail. When these images are merged later in post-processing (e.g., Lightroom), the result is often cleaner and more natural, with smoother transitions and less aggressive tone mapping. Instead of relying on a single exposure pushed too far in post-processing, exposure compensation helps you record the full tonal range already at the moment of capture.

A few tips
You rarely need more than one or two stops. Small adjustments of ±1 EV are often sufficient to resolve the issue. Don’t forget to look at the histogram on your camera, if it is enabled, as it shows whether you are losing detail in the shadows or the highlights. And most importantly, don’t be afraid to experiment. Exposure compensation is non-destructive and easy to reset.
Final thoughts
Exposure compensation is a small control that makes a big difference. It helps you step in when your camera doesn’t get it right, and ensures that your photos look the way you want them to. Next time you find yourself shooting snow, a concert, or a sunset, reach for exposure compensation. It might just save the shot.


